How to make a dado without any power tools
I was making a work station for my miter saw, and wanted the station to have a stop block sliding along a t-track.
T-tracks are typically inserted into the a straight “groove” or “channel”, called dado, cut into the top surface wood on a miter station.
But here’s the thing: I didn’t have any of the tools typically used to make a dado: a router, a table saw, or a circular saw.
Nor did my frugal wallet want to buy any of them just for this project.
I scoured the internet for ways to make a dado without the power tools. I found none. 🤔
So I decided to come up with a solution on my own.
It took a bit of sweat, but I did it! 😅
Hope my solution inspires you!
Supplies and Cost*
*Cost as of Dec 2020 when lumber was expensive, due to the economic impacts of the COVID pandemic
| Item | Count | Price | Store |
| 1″ x 12″ x 6′ board (depends on the size of your miter station) | 2 | $17 x 2 = $34 | Home Depot |
| 3/4″ x 1/4″ x 8ft pine wood screen trim | 1 | $5 | Lowe’s |
| Wood glue or screws (need a drill if you use screws) | As needed | $1 | Home Depot, Home Depot |
Total cost of supplies: $40
How to build it
Step 1: Get the supplies
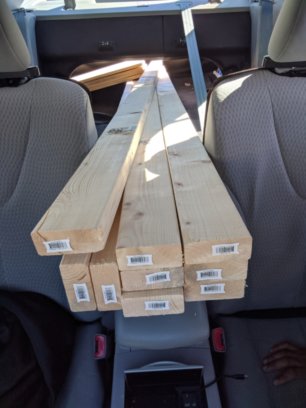
If you’re like me, you don’t have a truck. You also don’t want to rent a truck because you’re frugal!
Don’t worry, all supplies for this project should fit just fine in your sedan.
Lower the back seat, and insert the lumber through the trunk. The lumber should rest between the front seats, on the arm rest. See pic below.
A standard sedan can hold lumber pieces up to 8ft in length this way.
Caveat: Drive slowly and carefully, with warning lights on when you transport lumber this way. If you go fast and then have to brake suddenly for some reason, the lumber will slide forward and damage your car’s dash and windshield.
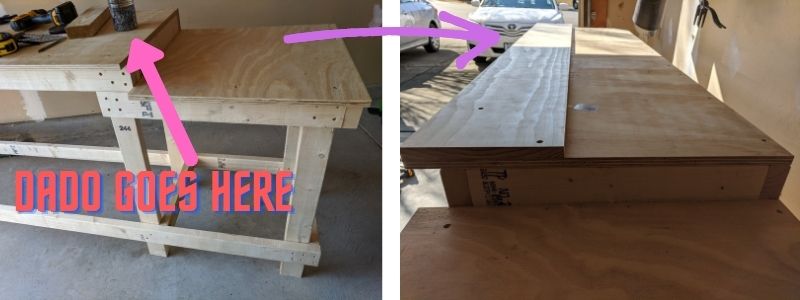
Step 2: Attach one board
Attach one of the 1″ x 12″ x 6′ boards to one side of the surface where the dado should go.
You can use either glue or wood screws for this step. You’ll of course need a drill if you use screws.
Step 3: Attach the wood trim
Attach the wood strip next to the board using wood glue.
Caveat: Do not use screws to attach the strip. It will split! Use glue.
You may need a bit of patience here, as the trim may not be perfectly straight. You may need to press and hold for a couple of minutes, until the glue binds a bit.
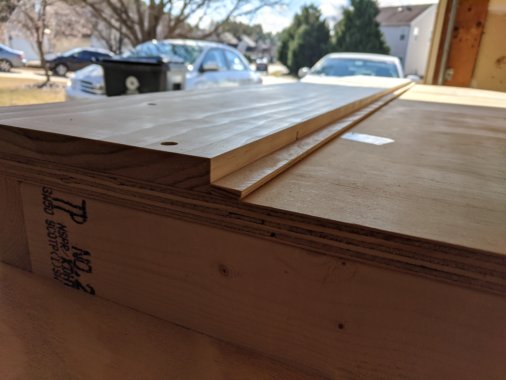
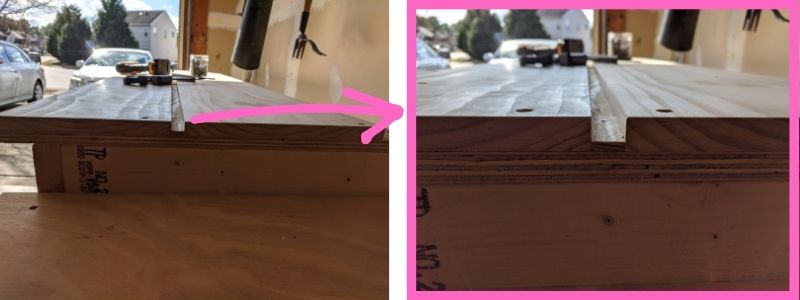
Step 4: Attach the second board
In the final step, attach the second 1″ x 12″ x 6′ board.
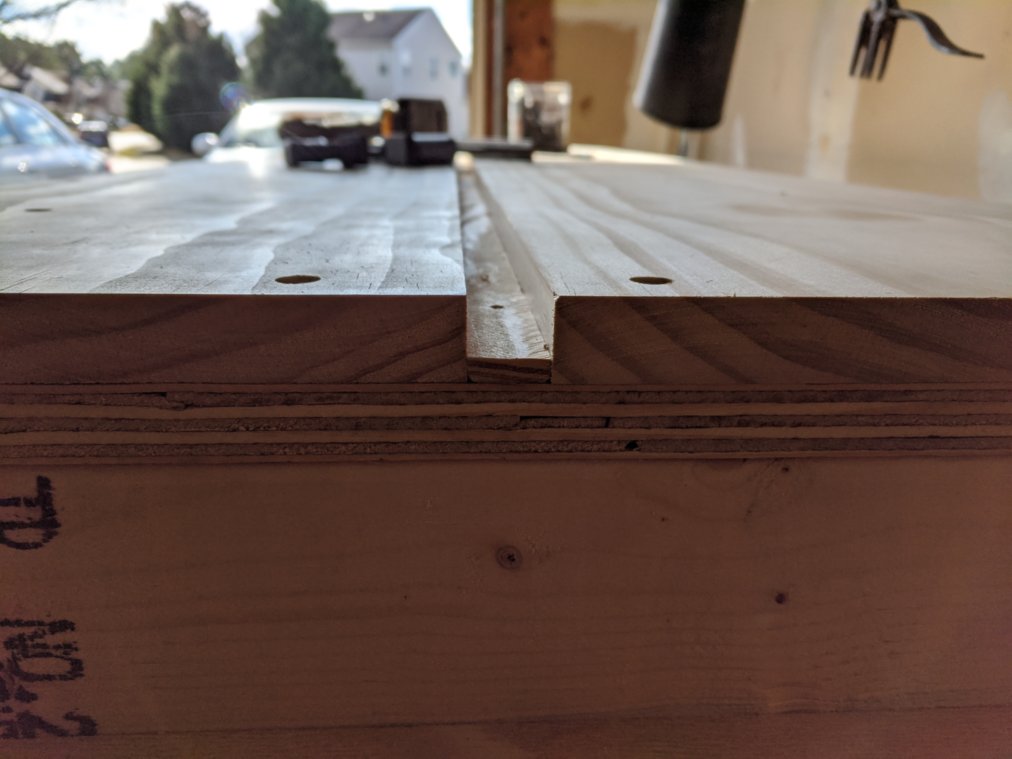
That’s it – you’re done!
You now have a dado for t-track installation or some other purpose.
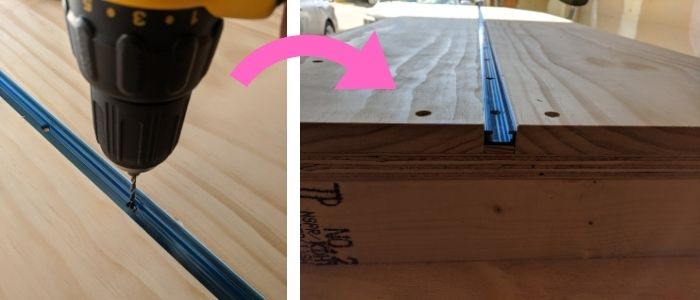
Optional step: Attach the t-track
If you made this dado for a t-track installation like me, you’re now ready to screw in the t-track.
Make sure to drill pilot holes first before driving in the screws.
Caveat: The gap between the boards may not be perfectly 3/4″ everywhere. You may have a hard time inserting the t-track into the gap. To avoid this, place the t-track over the wood strip while attaching the second board to ensure there’s enough room for the track to go in.
Have you enjoyed this post? Do you have any questions or suggestions for improvement? Please leave a comment below. I’d love to hear from you.